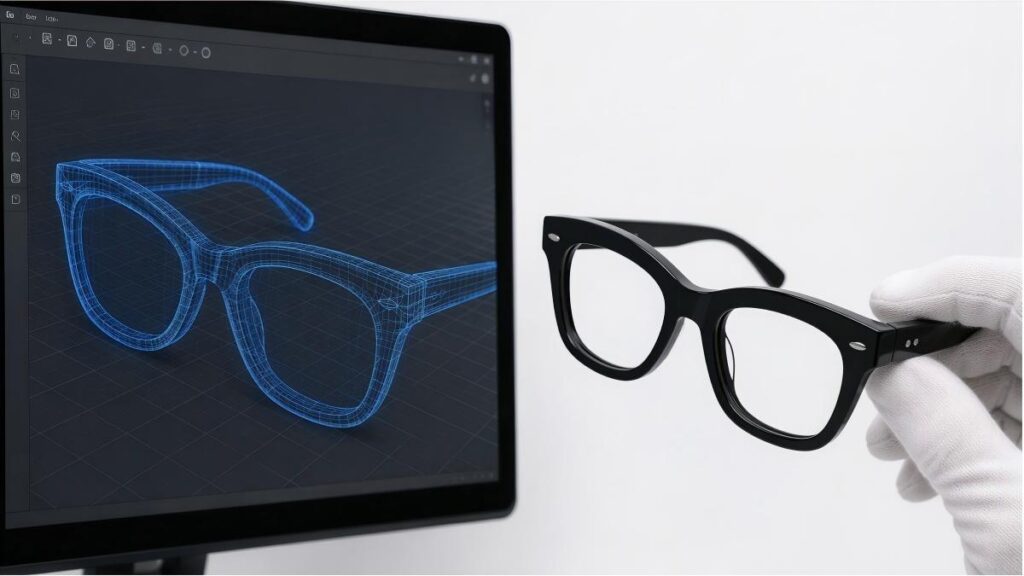
The first two weeks of a full OEM eyewear project determine everything that follows. A mistake in the CAD file — a bridge 2mm too wide, a temple 5mm too short, a lens groove 0.3mm too shallow — compounds through mold making, prototyping, and production. Fixing it after molds are cut costs money and time. Getting it right in CAD costs nothing.
This article maps the critical decisions made during the CAD-to-prototype phase, what the factory needs from you, and what you should check before giving final approval.
What the Factory Needs Before CAD Starts
The quality of your CAD output depends entirely on the quality of your input. Send these four things — not just one or two:
1. A Reference Frame (Best)
The single most valuable thing you can send is a physical frame — yours, a competitor’s, or a vintage piece you love. The factory will 3D-scan it and extract exact dimensions.
What to include with the reference:
- “Keep the bridge width but make the temples 5mm longer”
- “Same lens shape but 3mm wider overall”
- “This front curvature but flatter temples”
2. Dimensional Specifications
If you have no physical reference, provide these minimum measurements:
| Dimension | Typical Range | Your Value |
|---|---|---|
| Frame width (hinge-to-hinge) | 130-145mm | |
| Lens width | 48-58mm | |
| Lens height | 35-50mm | |
| Bridge width | 16-20mm | |
| Temple length | 135-150mm | |
| Front curvature angle | 4-8 degrees |
3. Material Specification
- Acetate type (Mazzucchelli, Jimei, Jinyu)
- Sheet thickness (6mm, 8mm, or custom)
- Target frame weight (if applicable)
- Hinge type (standard 3-barrel, 5-barrel, spring hinge, custom)
4. Visual References
3-5 photos of frames that capture the aesthetic you want — front view, side view, detail shots of temple design, bridge style, and hinge area. These do not need to be your design; they communicate “this kind of look.”
The CAD Review: What to Check (Checklist)
When the factory sends the CAD file, review these eight points before approving. Miss any one of them and the prototype will not match your vision.
| Checkpoint | What to Look For | Common Issue |
|---|---|---|
| 1. Overall proportions | Do the lens-to-frame ratio and temple thickness look balanced? | CAD makes frames look thicker than they feel — trust the dimensions more than the visual |
| 2. Bridge width | Does it match your target market’s fit? | European: 18-20mm. Asian: 16-18mm. Unisex: 18mm |
| 3. Temple curvature | Does the temple curve follow the head contour naturally? | Too straight = pressure behind ears. Too curved = loose fit |
| 4. Lens groove | Is it 0.8-1.0mm deep? | Shallower = lenses pop out during wear |
| 5. Hinge position | Is the hinge centered in the temple thickness? | Offset hinges cause temple misalignment |
| 6. Front curvature | Is the face-form angle appropriate? | 4 degrees = flat/classic. 8 degrees = wrapped/sport |
| 7. Nose pad area | Is there enough material for comfortable nose contact? | Thin bridges need built-up pad areas or separate nose pads |
| 8. Edge thickness | Are frame edges at least 2.5mm throughout? | Thinner edges snap during polishing |
Pro tip: Print the CAD views at actual size on paper, cut out the frame shape, and hold it to your face in a mirror. This crude test catches proportion issues that look fine on screen but wrong in real life.
The Most Common CAD Revisions (And How to Avoid Them)
After 20 years of OEM development and hundreds of custom projects, these are the revisions we see most often — and how to prevent them:
Revision #1: Bridge Too Wide or Too Narrow
Why it happens: Brands copy a bridge width from a reference frame that fits a different demographic.
How to avoid it: Measure the bridge width of 3 frames that fit your target customer well. Use the average.
Revision #2: Temple Length Wrong
Why it happens: Temple length looks fine in CAD side view, but the curvature behind the ear shortens the effective length.
How to avoid it: Temples should measure 135-150mm along the center curve, not as a straight line. Specify “measured along the curve.”
Revision #3: Lens Opening Too Large
Why it happens: Large lenses are on-trend, but acetate frames with lens openings above 55mm become heavy and prone to lens pop-out.
How to avoid it: Above 55mm lens width, consider reducing frame front thickness or switching to a semi-rimless design.
Revision #4: Temple Too Thin at Hinge
Why it happens: Thin temples look elegant in CAD but leave insufficient material around the hinge screw.
How to avoid it: Minimum 3.5mm material around the hinge screw hole. If your temple is 3mm total thickness, the hinge connection needs reinforcement — either a metal core or a thicker local area.
Prototype Evaluation: Beyond “It Looks Good”
When you receive the first physical prototype, evaluate these five things — not just aesthetics:
1. Fit Test
Wear the frame for 10 minutes. Does it slip down your nose? Pressure behind ears? Gaps at the temple sides?
2. Lens Test
Press firmly on both lenses from the front. They should not pop out. A properly cut groove holds lenses securely even under moderate pressure.
3. Hinge Test
Open and close the temples 20 times. Hinges should move smoothly without resistance or looseness. Listen for clicking — it signals misalignment.
4. Surface Test
Run your fingers along every edge — bridge interior, temple tips, hinge recesses, lens groove edges. Any roughness, sharpness, or uneven polish = reject.
5. Symmetry Test
Place the frame on a flat surface. Both temples should contact the surface evenly. One temple higher than the other = misalignment. Both temple tips should touch at the same angle.
Frequently Asked Questions
How many prototype rounds are normal?
1-2 rounds. First prototype catches 80% of issues. Second prototype confirms fixes. More than 3 rounds suggests poor initial communication or an overly complex design.
Can I skip the CAD stage and go straight to prototype?
No. CAD is your last chance to fix design issues for free. Skipping it means you discover problems on a $500-800 mold that must be re-machined.
What if I don’t have a 3D viewer to open CAD files?
Request screenshots from multiple angles (front, side, 45-degree, top-down) and a dimensioned 2D drawing. Any factory can provide these.
Does the prototype use the final acetate color?
Not necessarily. The first prototype often uses a neutral color (black or crystal) to evaluate shape and fit. Color-matching samples come later, once the shape is approved.